7th January 2011
As many of you have noticed I bought a second hand heatpress on Finn.no
Despite being rather old it's still in good shape.
The biggest fault is a missing cover on the lower board.
In addition to pressing fabrics and applying interfaces I'll also use the heatpress for dye sublimation.
In other words I have to take it apart and make some modifications, or "pimp it up" like we say it in Norway
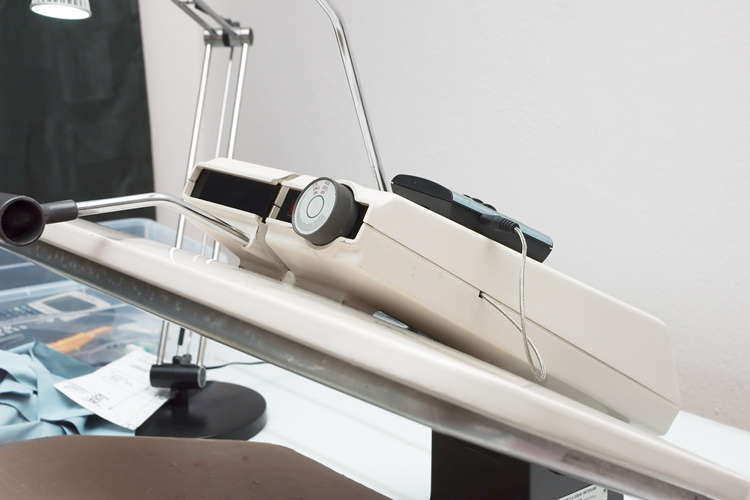
This is how it looks like now:
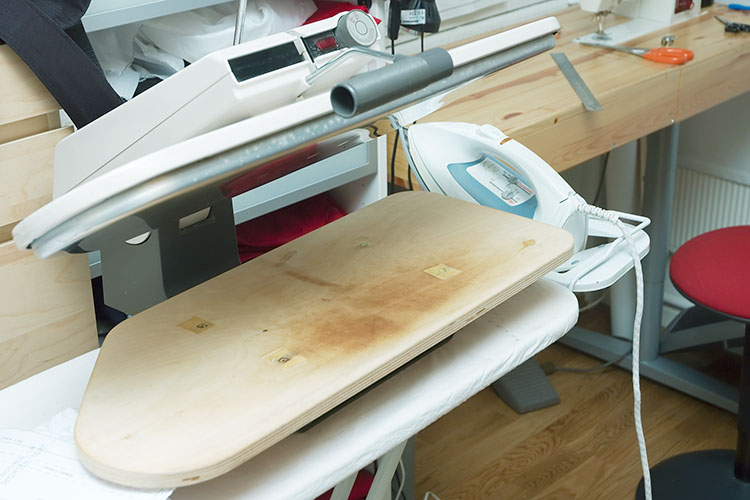
The plan so far is:
- Make a cover for the board
- Put some softening between the cover and the board
- Disable an awfully annoying alarm that goes off after 7-8 seconds
- Attach a thermometer
- Fix the slightly loose handle
- Clean, wash and fix cosmetic damages on the outside
8th January 2011
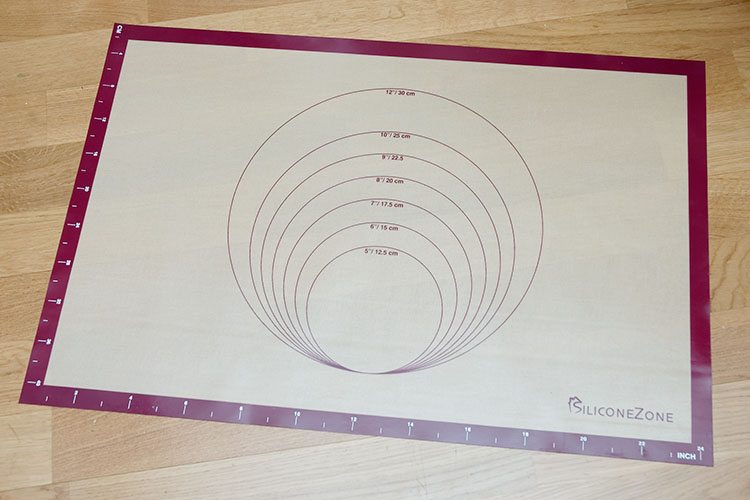
Bought myself a silicone mat yesterday.
This is the kind of stuff they use for cooking and baking.
It's not very thick, but I need something to protect the wood.
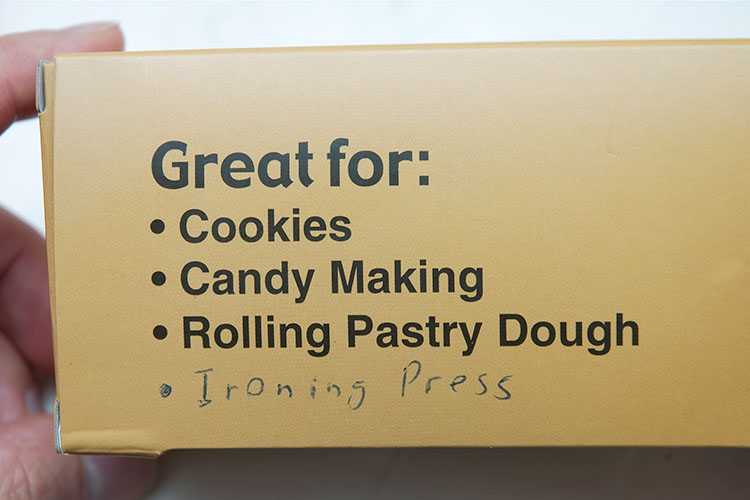
According to the box the mat should resist up to 482 degree Celsius, which should be more than sufficient for my use. It even says it's suitable for heat presses
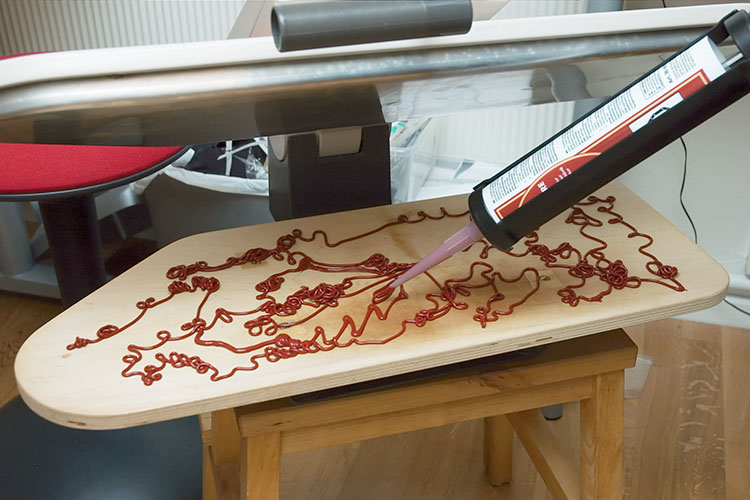
To attach the mat to the board I used silicone sealant.
The kind that is normally used to seal pipes, windows, bathrooms etc.
This one is also heat resistant (up to 300 degrees).
It reminds me a little of ketchup!
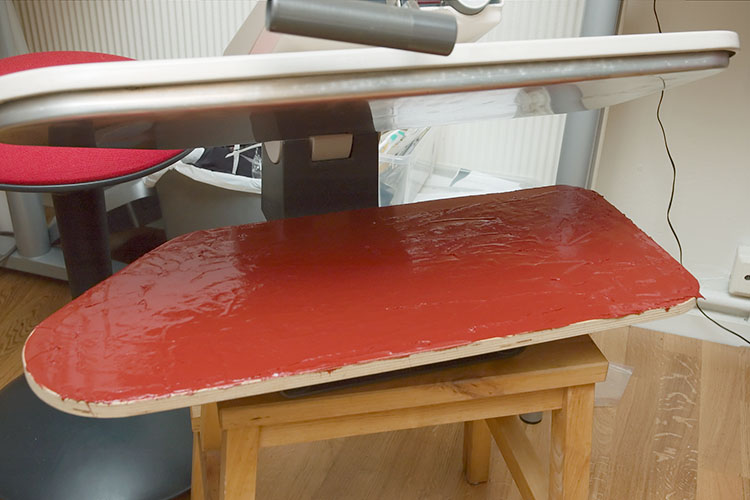
It already looks much better once it's evened out.
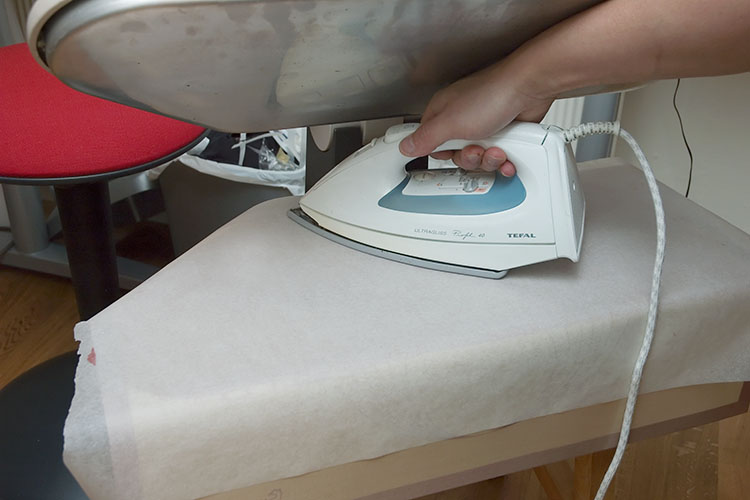
Then it's time to put on the mat! Since the surface it's a little sticky I put on a sheet of baking paper. Then I used a regular iron without heat to press the silicone sealant move even and squeeze out the air bubbles.
Then I'm done for today.
The silicone sealant needs about 3 days to set, which means I'll continue in 3 days
16th May 2012
Did I say 3 days?
1 year, 4 months and 8 days later...
Uh, maybe about time to finish this neverending project.
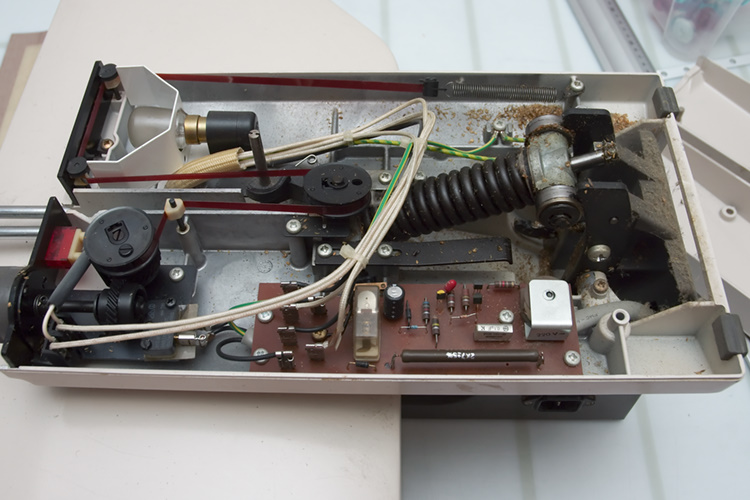
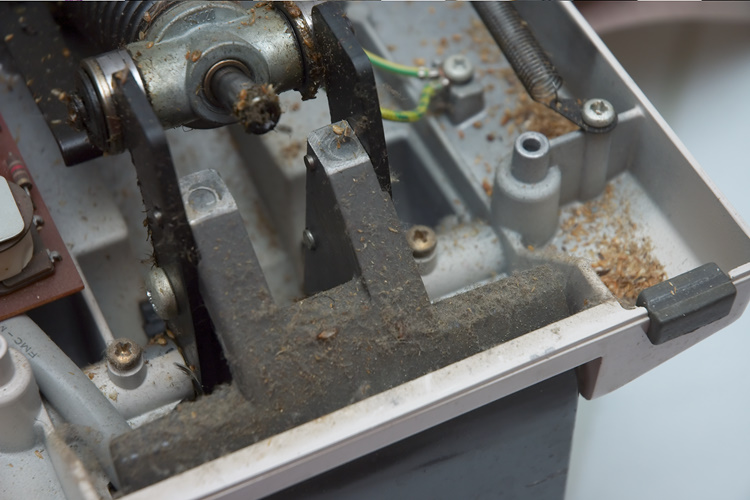
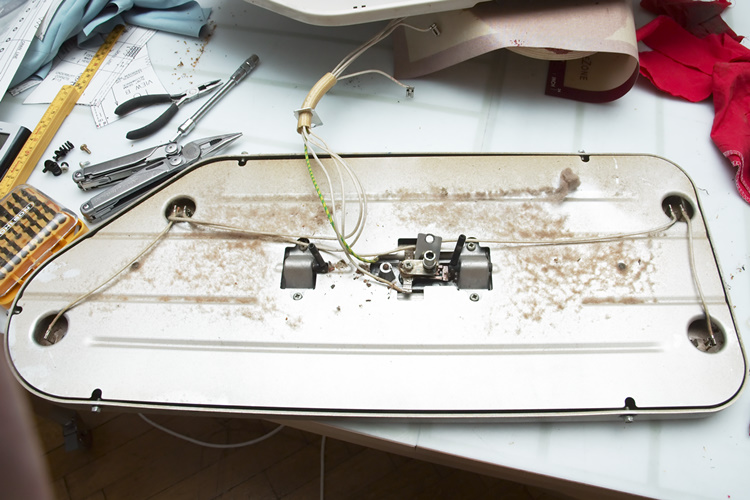
Today I disassembled the press.
Not quite sure if I can call the interior dirty or if it's more than that.
17th May 2012
The interior is now vacuumed and cleaned. Which took a while.
Also found the alarm who makes the annoying sound.
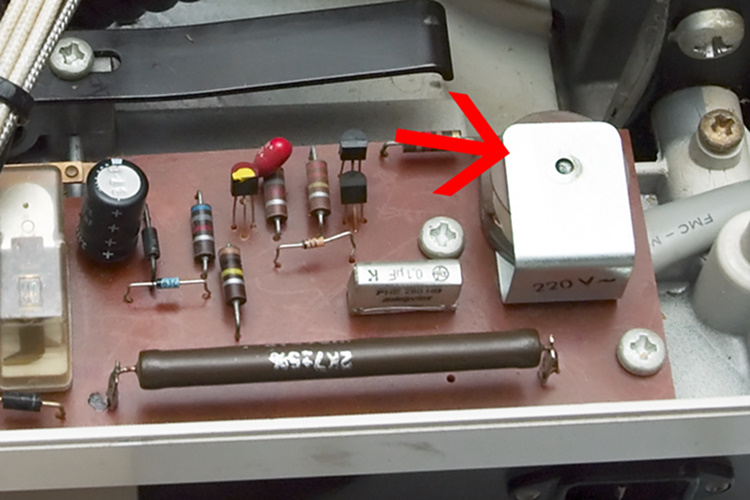
In order to remove it I'll have to detach the whole circuit board and desolder from the back side.
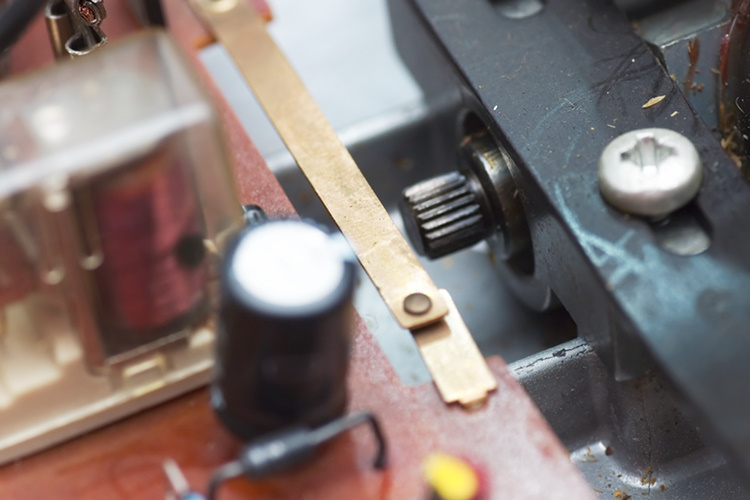
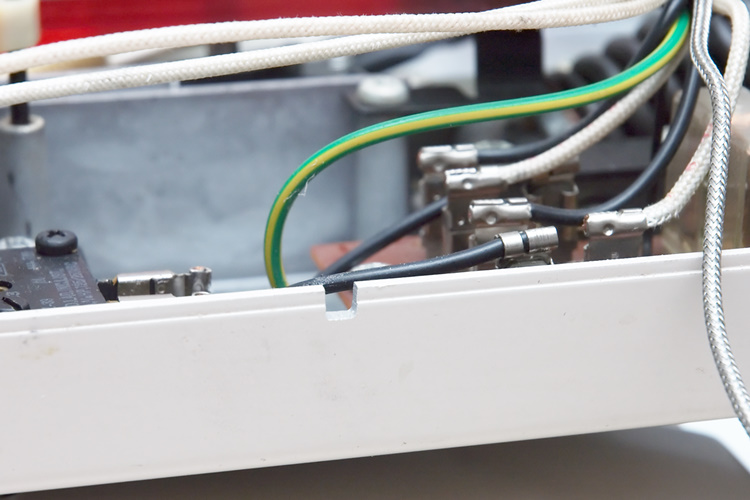
But I found a little piece of plastic that flips a switch when the heatpress closes:
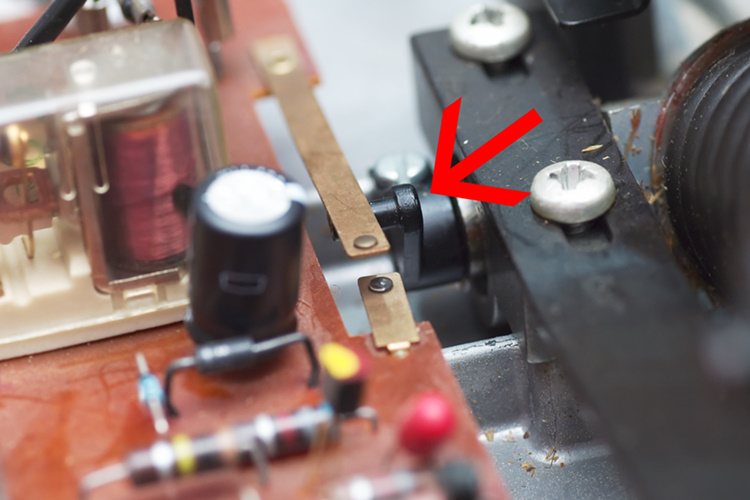
By removing it and voila! No more annoying alarm!
Next step is installing the sensor of a baking thermometer.
I disassembled the heat element.
Awfully dust here as well, so I used the opportunity to clean it up.
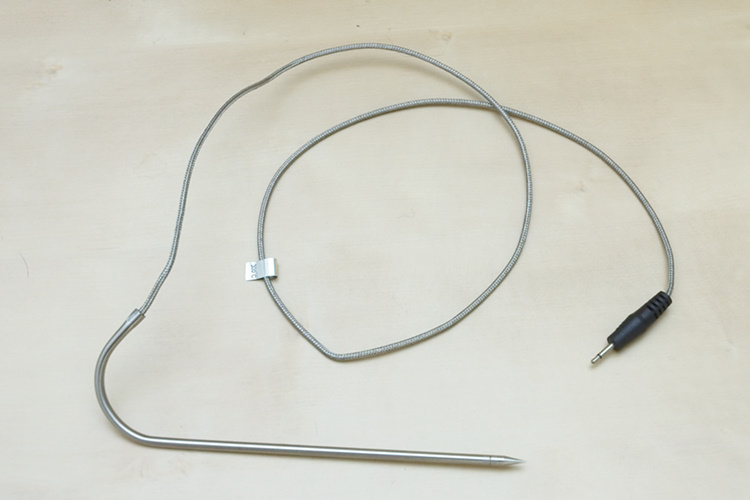
The sensor looks like on other digital baking thermometers.
A steel cable with a plug in one end and a rod to stick into the meat in the other.
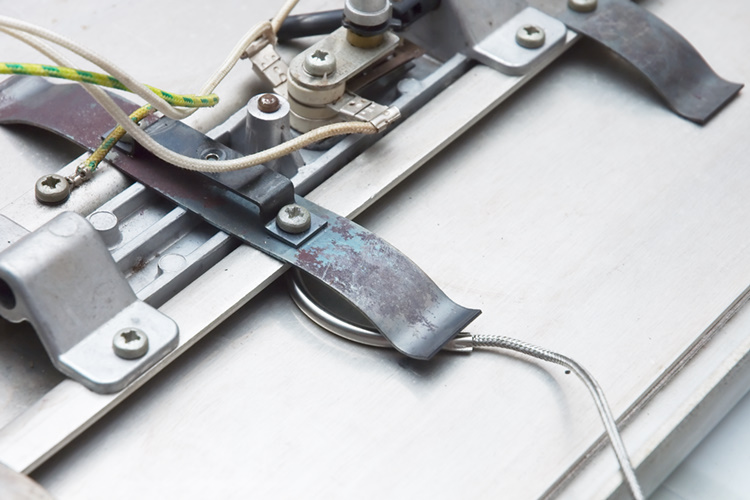
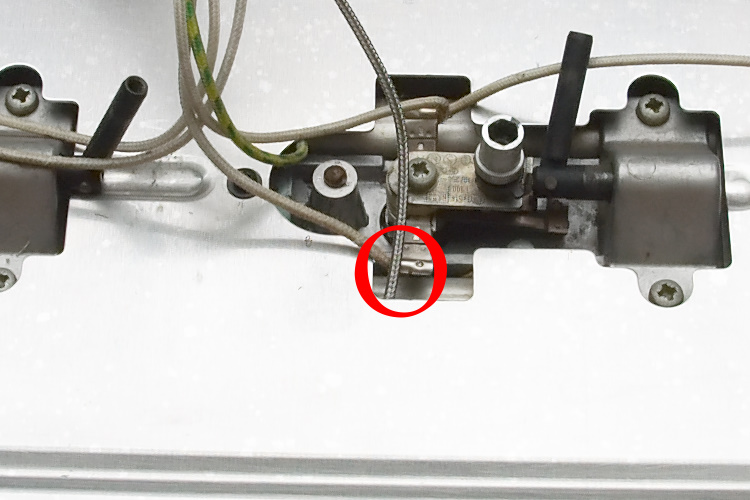
I attached the sensor around the middle of the heat element.
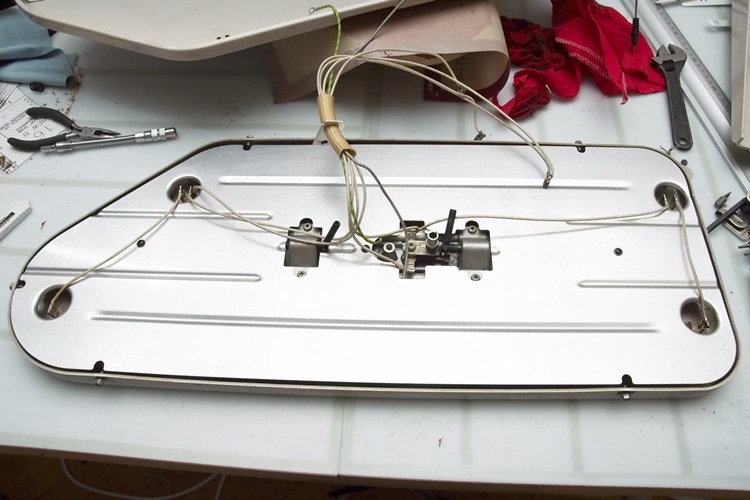
Then it's installed, the interior cleaned and ready for reassembling.
In order to make an escape path for the cable I made a small hole on the side.
All done! Plug in the power, turn it on and whoops...
The fuse went off and the apartment turned pitch black
Ouch, I have to take it all apart again
18th May 2012
Ha, I found the fault!
The cable of the sensor is made of metal.
When it hits one of the power cables it creates a short circuit.
The problem is solved by pulling out the thermometer cable through another hole.
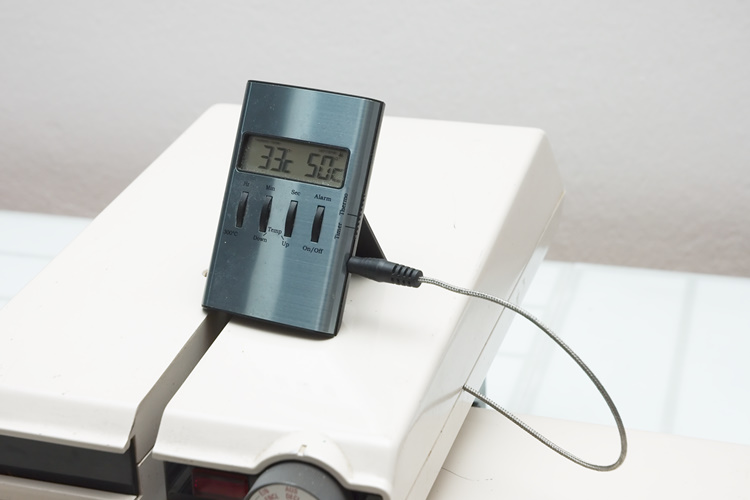
Putting everything back together and tested.
Seems to work well this time and the thermometer sensor is not damaged.
Cutting away the excess silicone mat from the board.

Washed the exterior of the heatpress.
Now it's nice and shiny!
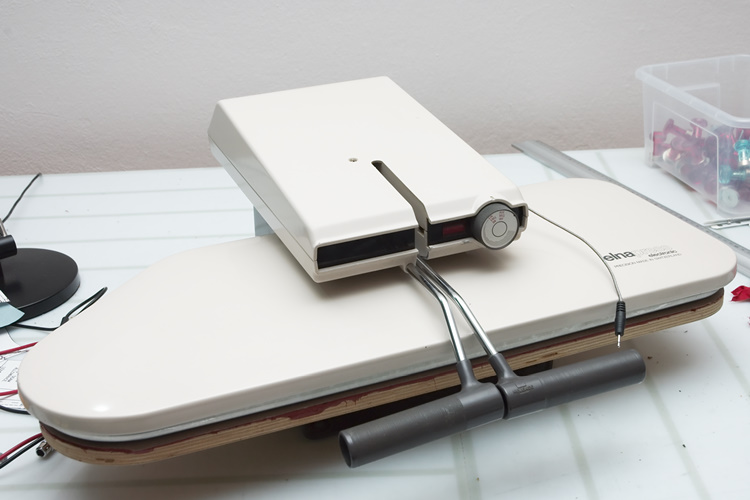
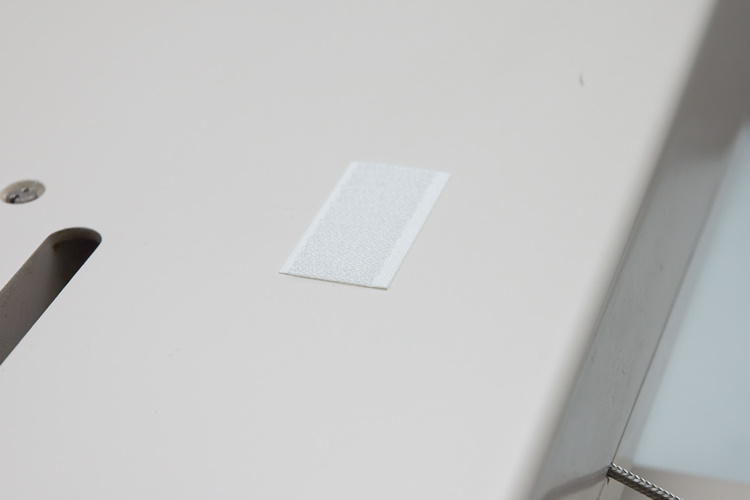
Glued on a piece of velcro on the top to attach the thermometer on.
21st May 2012
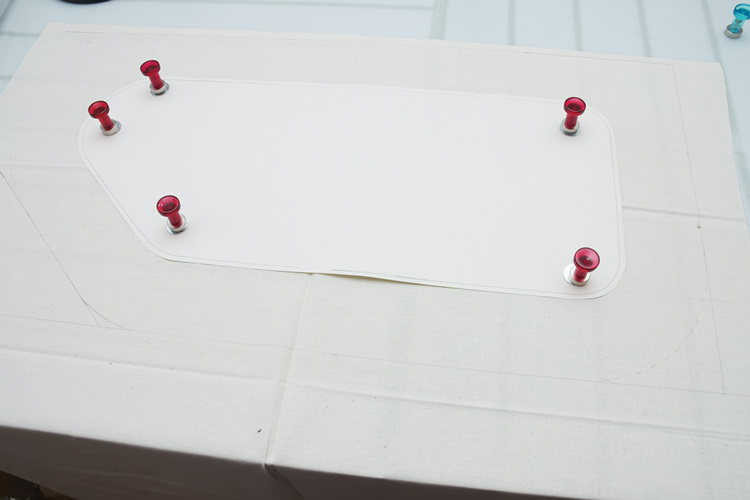
The only thing remaining is the cover for the board.
To get the correct size and make a pattern I just draw from the board itself.
As a softening fabric I used "Minna" from IKEA.
It's quite thick, stable and rather cheap fabric.
I used 5 layers of the fabric.
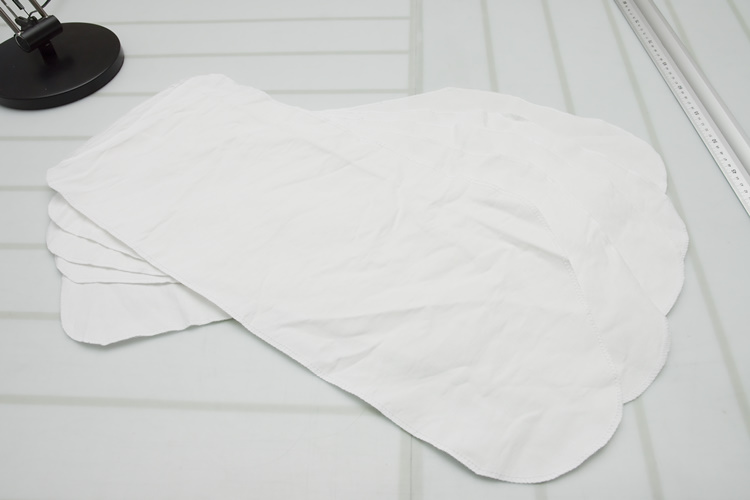
The cover itself needs to be quite a bit bigger so it can wrap around the edge.
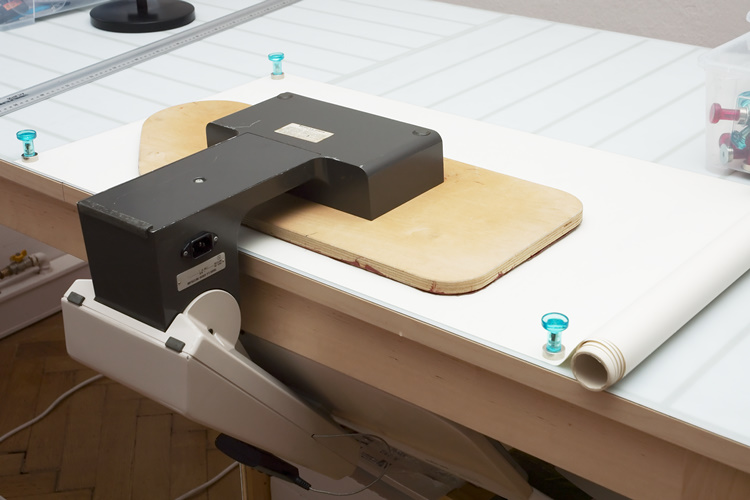
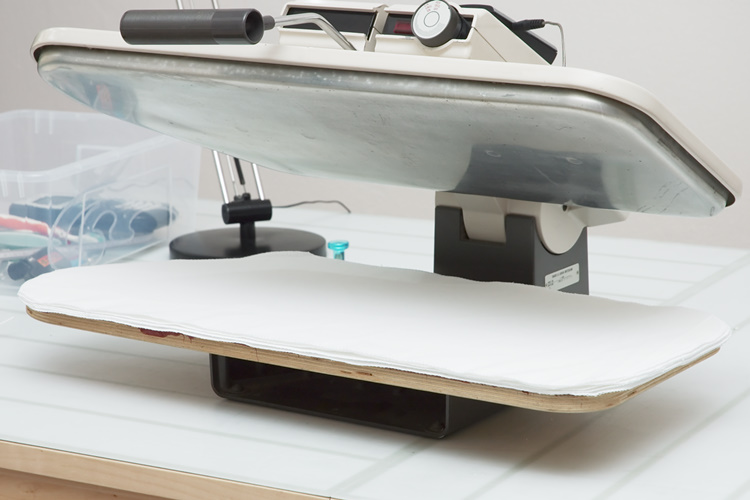
The heatpress with 5 layers of softening fabric.
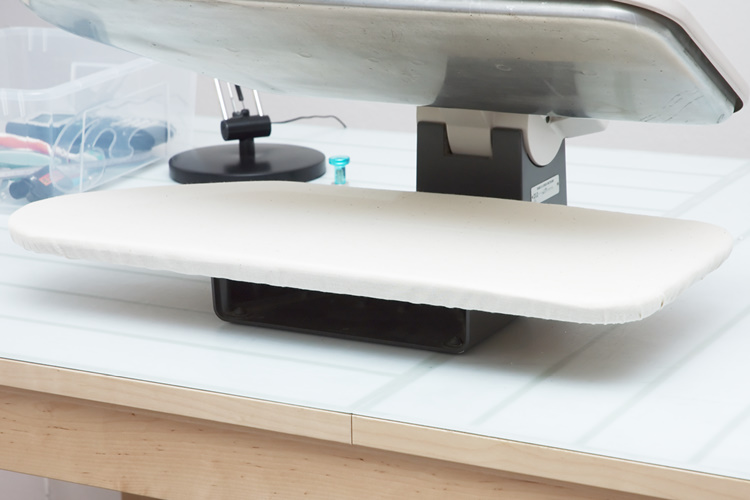
And with the cover.
Everything that needs to be done is now done!
Time for a little test-drive.
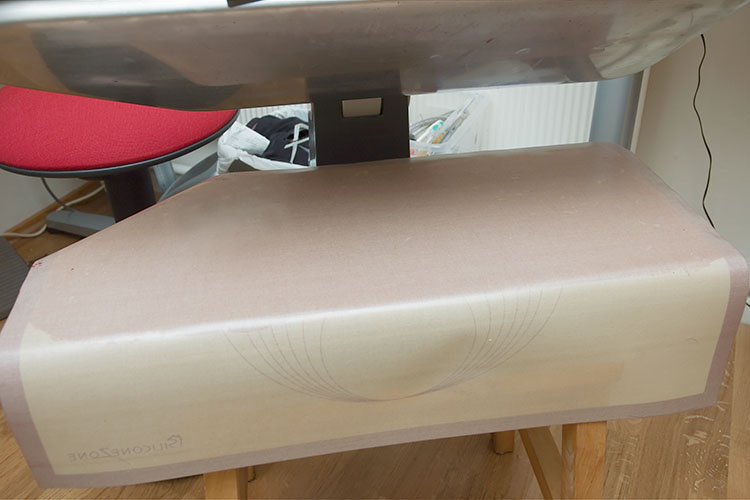
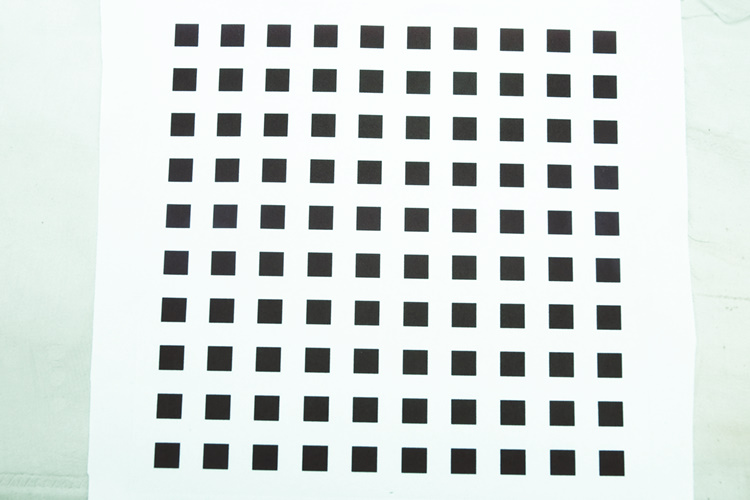
First out is a sheet with black dots to check for uneveness on the press.
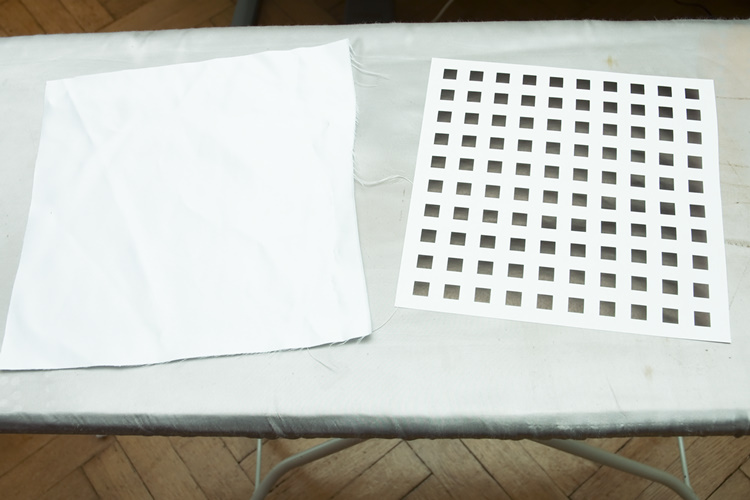
According to my eyes it seems even enough.
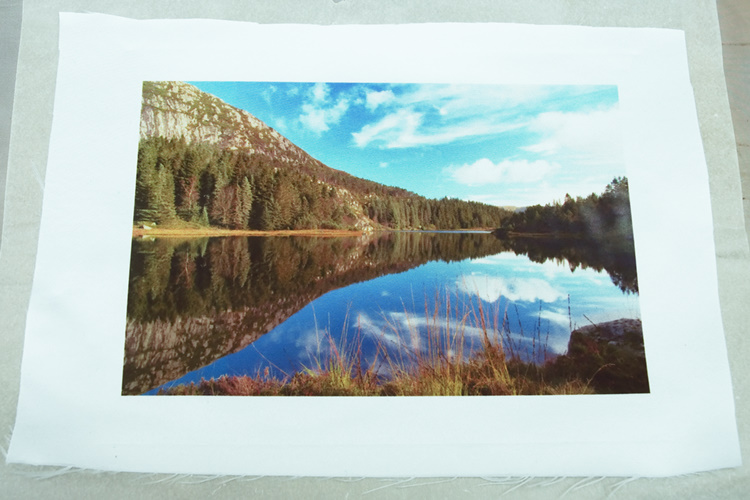
Also tried with a picture.
This time I got some bright spots on the right.
Since I cannot adjust the pressure I can only add more layers of fabrics underneath the cover.
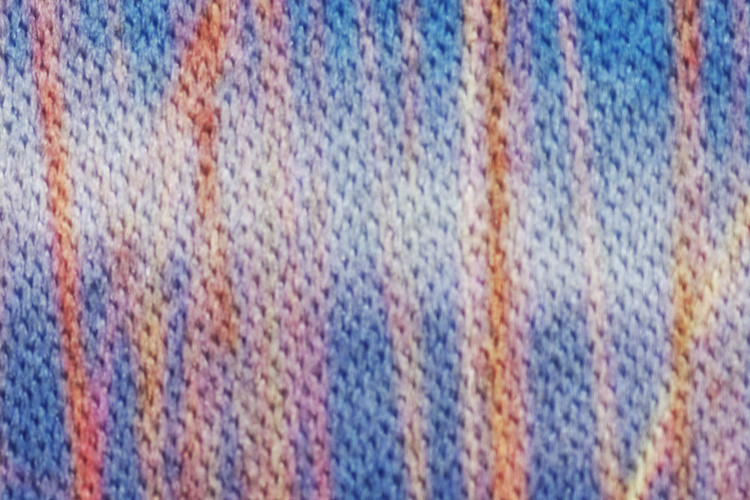
Closeup of the print.
As you can see it's the fibers itself on the fabric that gets dyed.
So no film or ink that lays on top of the fabric.
 TikTok
 YouTube