Invisible zipper is a challenge for many fresh sewers.
To the normal, mortal people it appears like some kind of black magic.
This is a method I invented which only requires a regular presser foot.
Normally you would need a special "invisible zipper foot" in order to sew them on beautifully. That is however an optional accessory on most sewing machines, which means many people don't have it. I first tried with the normal zipper foot, but it couldn't get close enough and the result were nowhere near invisible.
Then I experimented and came up with a way to make it look awesome (see picture) and that without the use of any special accessories! Just the regular foot.
I cannot guarantee it would work on every sewing machine, but it works wonder on my 25 years old Bernina.
This is a new, updated and improved method. My original method is still here if you prefer the old way.
How to do it
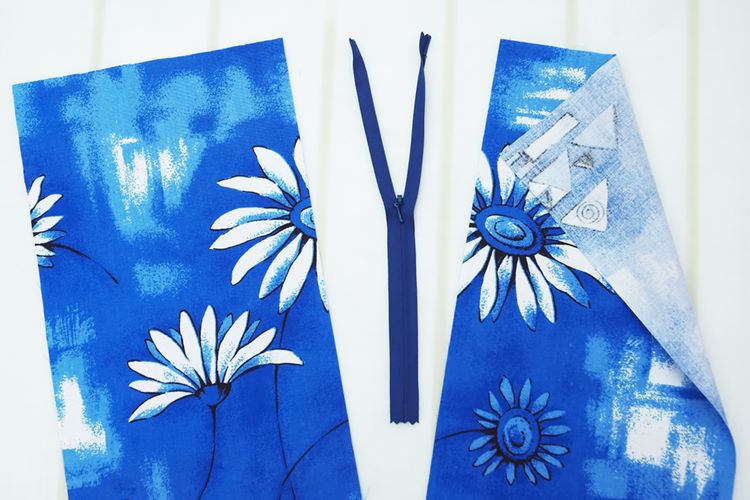 In this example we have two pieces of fabrics and an invisible zipper.
I've chosen threads in contrasting colours to make it easier to follow.
Normally I would of course use the same colour as the fabric.
I also choose a fabric with an obvious front- and back side.
Note! This guide assume 1cm seam allowance which would work on most zippers.
If you use larger seam allowance you should trim it to 1cm for the zipper part.
Note2! When attaching an invisible zipper you "lose" about 3-5cm.
You may want to get a zip which is slightly longer than the pattern suggest.
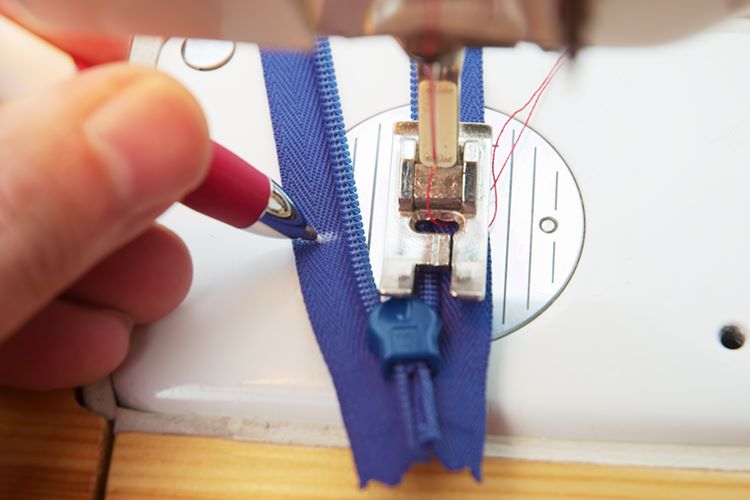 Open the zipper all the way down and place the end about 0,5cm from the presser foot.
Make a mark on the zipper where the needle is. This shows how far we're sewing.
Note that the zipper lies upside-down (teeth up).
 Pull the zipper back up. Overlock or zig-zag the edge of the fabric and place the zipper in between.
Align the top of the zipper with the top edges of the fabrics.
Draw similar marks on the front side of the fabric.
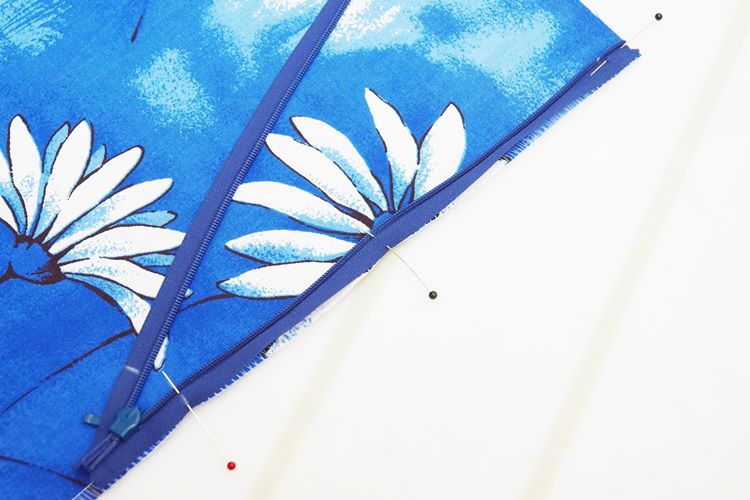 Open up the zipper and pin it to the front side of the fabric, aligning edge to edge.
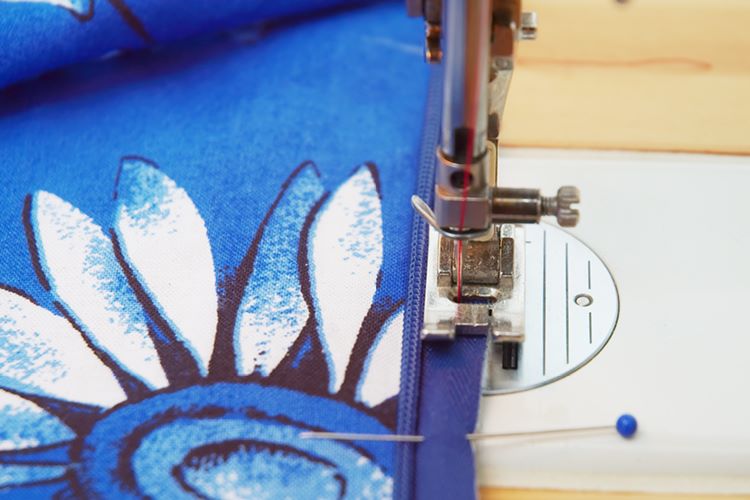 Make a straight stitch along the edge. You may remove this seam afterwards or just leave it there. It doesn't really matter. This seam is just to support the next step.
Note: don't make this seam all the way down. Stop about at your chalk mark (just a little before or right after, doesn't matter).
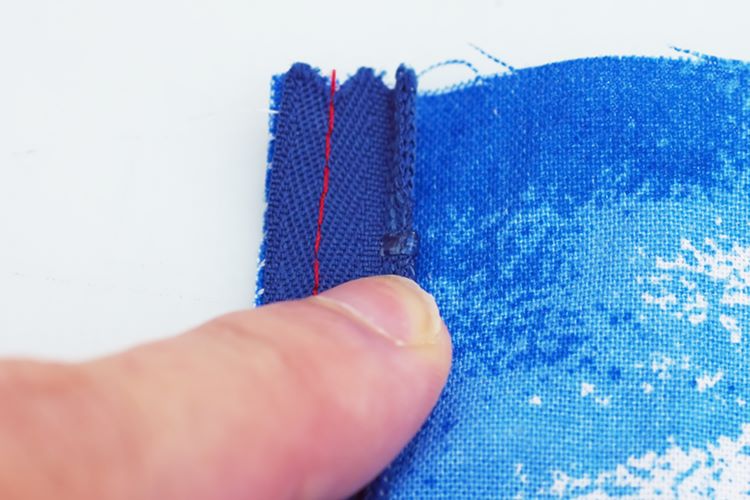 Press the start of the zipper open with your fingers.
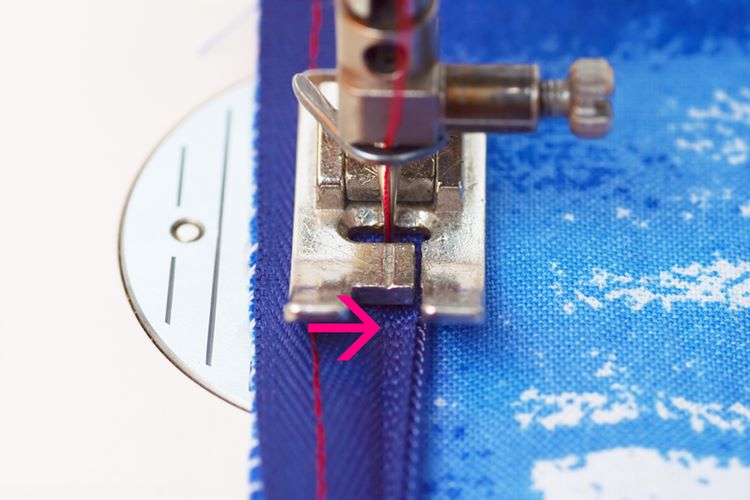 Place under the presser foot and make sure the fold on the zipper (purple arrow) matches with the needle's middle point.
Your presser foot may look differently, but it should have a mark which shows where the needle is.
Sew slowly.
This is when the magic happens; the first stitch keeps the zipper in place while the presser foot opens up the teeth!
Just make sure the needle hits the fold and the rest should be fine.
Stop exactly on your chalk mark.
 Repeat on the other side.
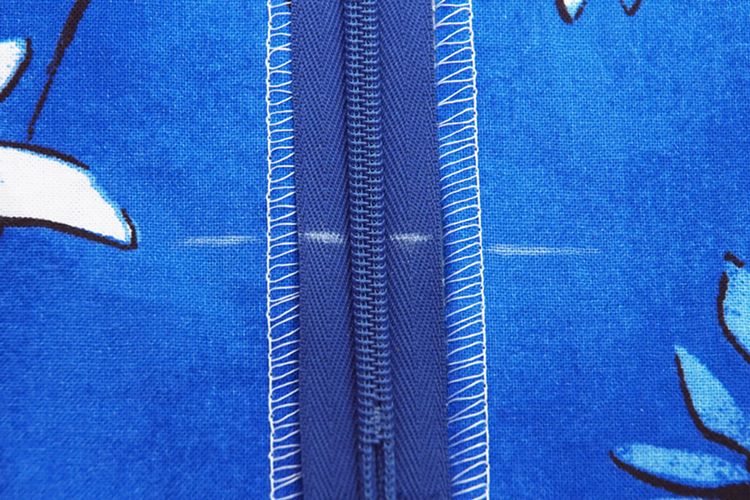
When you're done you'll end up with something similar to the picture above.
It may look a little weird, but don't worry it's absolutely normal!
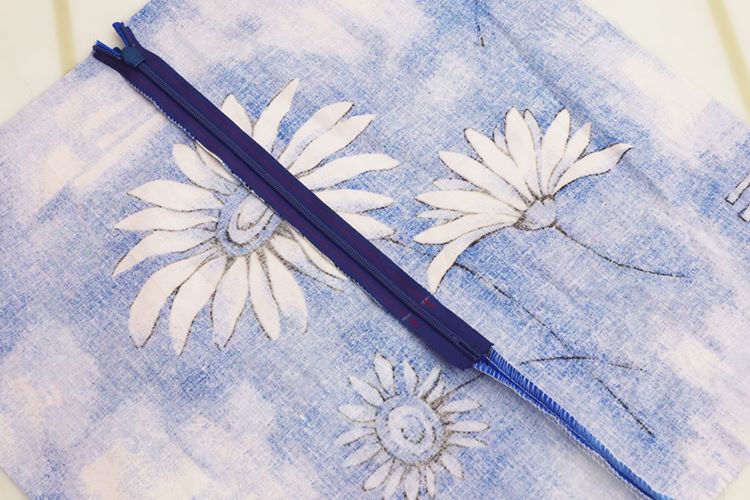 Turn the zipper a bit and pull it up.
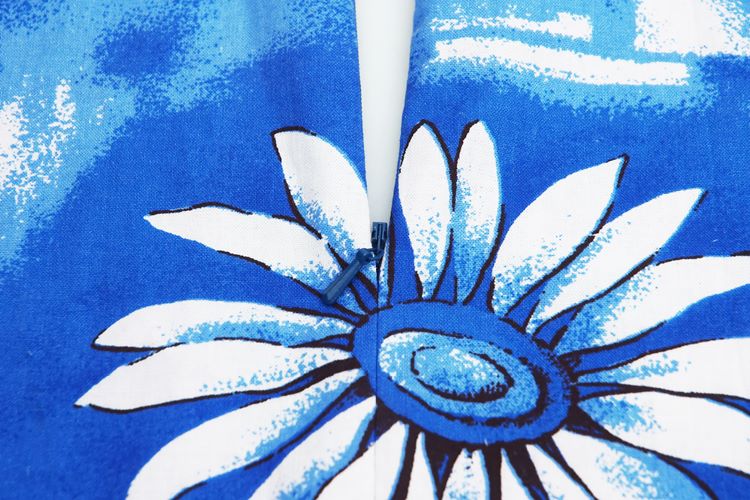
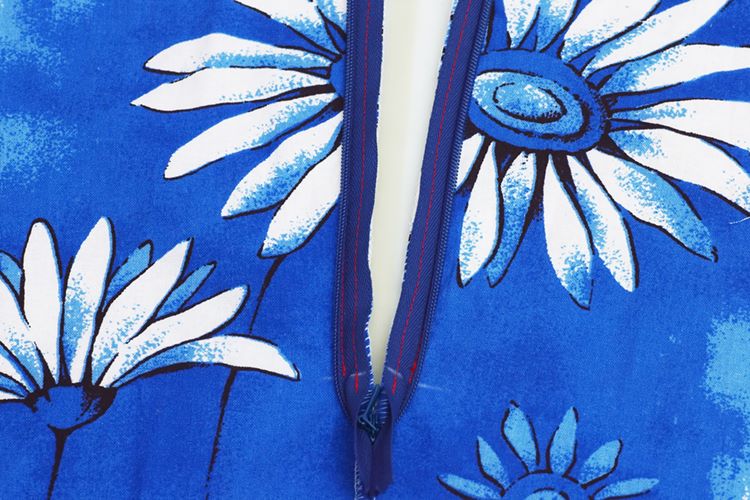
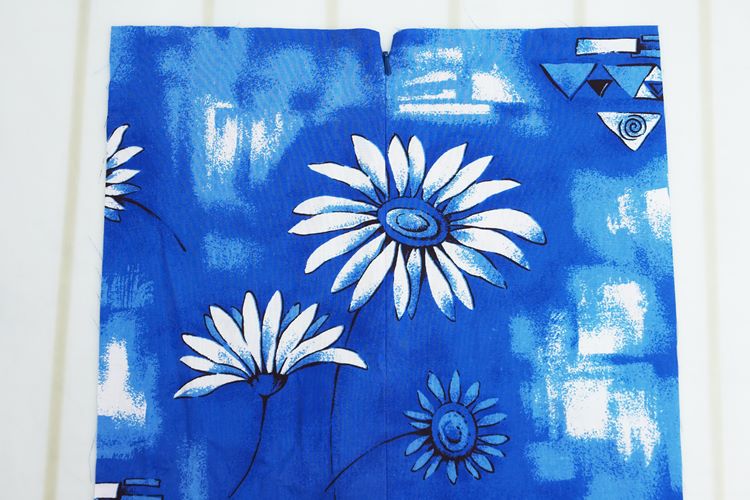
You can now admire your invisible zip from the right side!
But we're not quite done yet.
 Fold the fabric pieces together and pin the zipper so it gets out of the way.
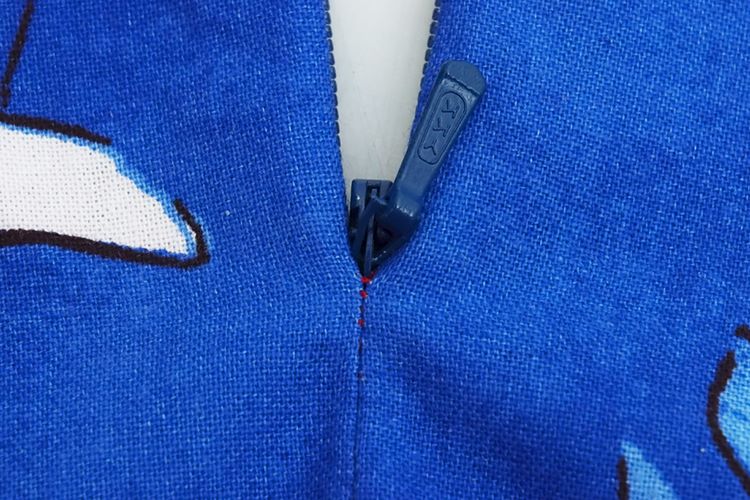
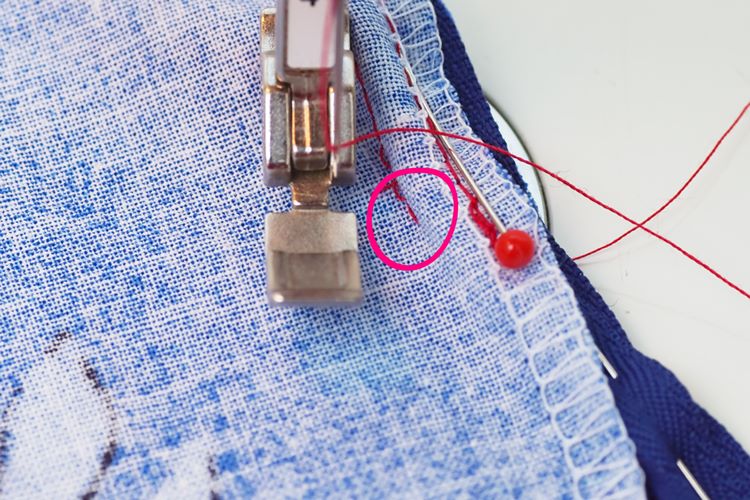 Switch to your zipper foot (the normal zipper foot) and start sewing as close as you can from where you ended your seams (purple circle). The zipper makes this part a little bulky, but you don't have to be super accurate at this point.
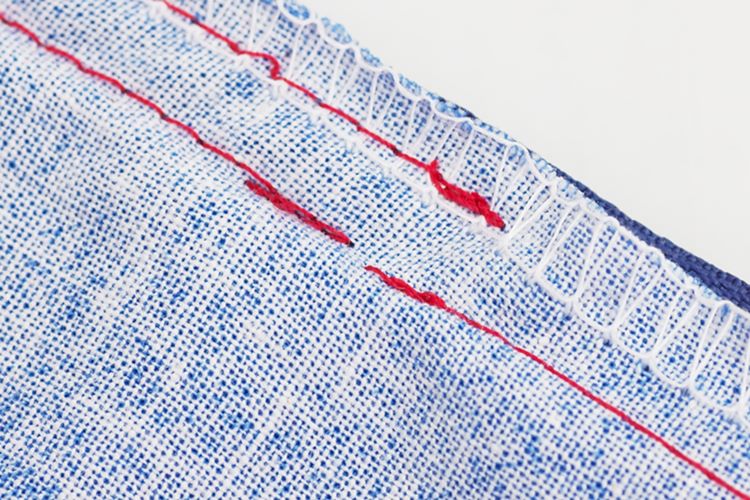 As you can see I missed the seams by a few millimeters. But from the right side it doesn't really matter:
Remove the pins and press the seam allowance open.
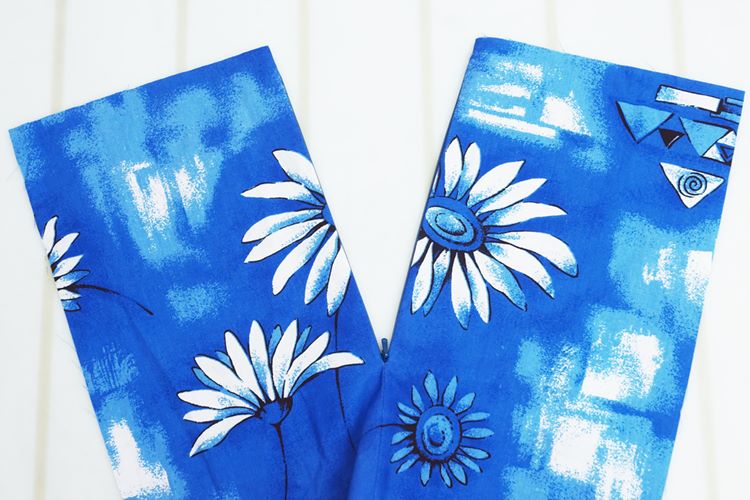
Aaaand we're done!
Below is how an invisible zipper looks like when closed and open.
 TikTok
 YouTube